

The term "Pinhole Photography" generally refers to a photographic technique using home made cameras, the effect can be pretty neat but the process can be be a bit cumbersome. This simple tutorial will teach you how to give any photograph a pinhole camera effect using a few steps in Photoshop.
Step One
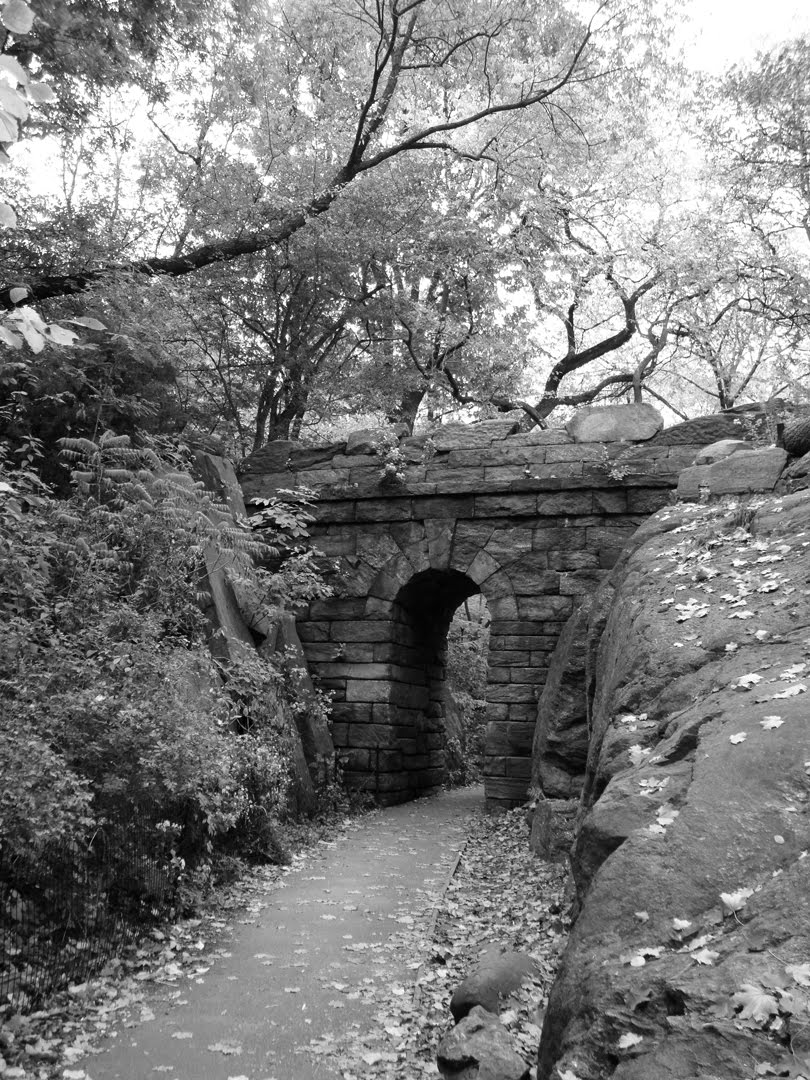
First you'll need to select a photo and open it in Photoshop, this technique works best on images like this one, pictures of building, streets, bridges, stuff like that.

Step Two
Pinhole photographs are generally black and white so you'll want to convert your image to a black and white image. Do this by creating a new layer and setting the Blending Option to "Color" then use the Paint Bucket Tool and drop either black or white onto the canvas. When you're done flatten the image by going to "Layers Menu" and selecting "Flatten Image".
Step Three
Pinhole cameras often do not have a lens and so their ability to focus on a subject is restricted, generally the center of the image will be in sharper focus than the edges. We can do this by entering the "Quick Mask Mode" which you'll find here:

Now grab your Gradient Fill Tool, which you can find by clicking and holding on the Paint Bucket Tool. At the top of the screen you will see a few gradient options, the one we want is the Radial Gradient, this is the circular gradient. Next to this there should be a checkbox labeled "Reverse", make sure this is checked. Now, click on the center of your photo or, if you're going to crop it, click on the center of focus for the subject and drag out to the end of the image.
This should result in your photo being covered in a red radial gradient, this is a quick mask, it allows us to use filters on certain portions of an image while leaving the rest of the image untouched. Now, exit the quick mask mode by pressing the same button you pressed to get into it, you should now see that your image has a round selection marquee. Now we need to add the blur effect. We do this with the "Lens Blur Filter" which you can find by going to:
Filter>Blur>Lens Blur
Feel free to play with the settings a little bit to make it work best for your photo. You have two options at the top "Faster" or "More Precise", the latter option produces a nicer result but does take longer to render.
This step was a little tricky but you should now have an image that looks a bit like this:

Step Four
Pinhole Cameras don't offer much control over the exposure times so we're going to simulate this by increasing the contrast a bit. Go to your "Image Menu" select "Adjustments" and then "Brightness/Contrast" and change the "Contrast" setting to +50. It should look like this when you're done:

We also want to overexpose the highlights a bit to further simulate the exposure of a pinhole camera so go ahead and open the "Levels" window by going to Image>Adjustments>Levels and slide the Highlight slider to the left until it reads 180, or whatever setting works best for your photo. It should now look like this:

We're almost done!!
Step Five
Now all we need to do is add that characteristic dark circle, or vignetting, around our image. To do this we create a new layer and set this layer to "Multiply". Now grab your Gradient Fill Tool, it should still be set to the Radial Gradient, make sure your primary color is black. Click in the same place you did before and drag it out to the end of the image, you should end up with an image that looks a bit like this:

Now all you need to do is crop your image so that it looks nice and you're all done!!
I hope you've found this tutorial to be informative, if you have any questions please be sure to ask and I will help. If you're interested in simulating antique photography I have another popular tutorial here: How to Make Your Photos Look Antique Thanks for stopping by!
Its all about creativity. Thanks for sharing some of photoshop tutorials
ReplyDeleteAwesome photography.
ReplyDeleteClipping Path Service
You have an incredible gift for capturing unforgettable moments
ReplyDeleteVisit Here: jewelry retouching service
Great tutorial! The pinhole photography effect is explained simply and adds a beautifully soft, vintage feel to any image.
ReplyDelete