
Chances are you've probably seen pictures like this, photos of a skyline or landscape that somehow looks like it's a photo of a miniature. This effect comes from a technique called "Tilt Shift" and usually requires specialized equipment. This easy to follow Photoshop tutorial will teach you how to achieve the same effect on almost any photograph.
Step One
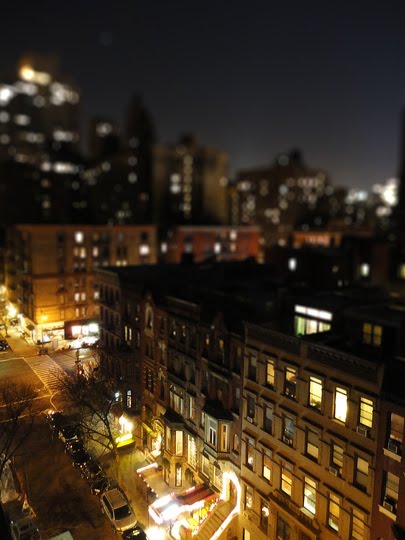
This technique usually works best on images such as the one below, try to take pictures out of a window looking down on the street or landscape you wish to use, this helps maximize the feeling of a miniature.

Step Two
To achieve the right kind of blurring we're going to need to enter the "Quick Mask Mode" which you can do by clicking this button here:

Now, grab your Gradient Fill Tool which you can find by clicking and holding on the Paint Bucket Tool. Click near the top of the photo and drag it about 1/2 to 2/3 of the way down and let go. You should find your photo covered in a red gradient like this:

Now, exit Quick Mask Mode by clicking on the same button you did to enter it. You should now see a scrolling selection marquee on your photo.
Step Three
The filter we use for this effect is the "Lens Blur Filter" which you can find by going to Filters>Blur>Lens Blur. Here are the settings I used for this one, feel free to play with them so they work best for your photo.

Click "OK" and we're done! This technique is easy to do and can produce some really neat results. Try to play with the settings on the filter and try using different gradients to achieve different effects. It's also sometimes good to increase the saturation to get a more toy like appearance. While you generally see this used on pictures of urban areas it works just as well on landscapes and rural pictures.

I hope this tutorial was informative, if you have any questions feel free to ask!

This comment has been removed by the author.
ReplyDeleteIs there any photoshop tutorials for logo creation?
ReplyDelete