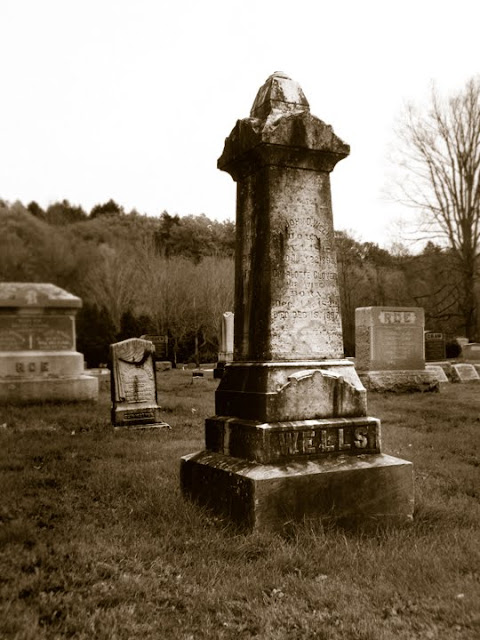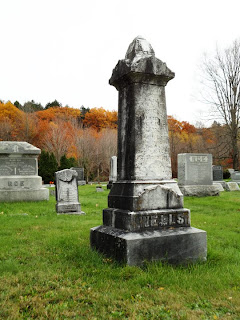
Sepia is the name of the orange hue you'll see in antique photographs and they work well as an alternative to Black and White photographs. There are a few ways to make a color photograph appear to be sepia toned but this simple tutorial will teach you the best method for achieving a rich sepia tone in Photoshop.
Step One
Open your photograph in Photoshop and do any post processing it may need such as contrast or levels adjustment.

Step Two
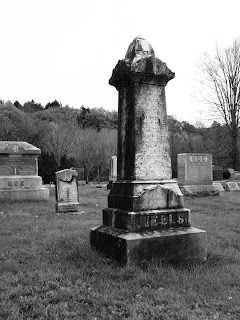
Before we make our photo sepia toned our technique requires us to turn our color photo in a Greyscale Photo. This is easy to do, just go to the "Image Menu", select "Mode" and then "Greyscale". Your photo should look a bit like this:

Step Three
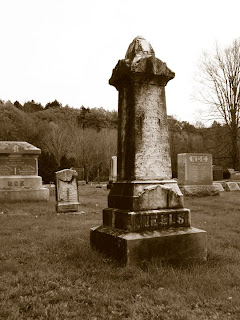
Now that we have our black and white photo we need to make it sepia toned. We are going to do this by turning our photo in a Duotone. Basically a duotone is the same as a black and white photo but uses colors instead of black and white. This is easy to achieve, all we do is go to our "Image Menu", select "Mode" and then "Duotone". You will see that the are two boxes with color, one is probably black and the other may already be a sepia like tone. What we want to do is double click on the black box and select a color that is a dark brown, almost black. Now, click on the second color box and you will be able to choose a few different colors, the one I have used for this tutorial is Pantone DS 12-1 C. Click "Ok" and we now have our rich sepia toned image like the one below:

Before you can save your image as a JPEG or use the regular adjustments and filters you'll have to convert the image back into an "RGB Image". To do this just go to "Image" then "Mode" then "RGB" and you will be able to save and edit your image like any other.
You will find that this technique of using duotones offers a much richer look to your sepia images then you can achieve by using color layers and it more closely resembles an antique photograph.
But why stop there? Continue on to this next tutorial and learn How to Make Your Photo Look Like an Antique!!!
I hope you have found this Photoshop tutorial helpful, if you have any questions just ask and I will try to help. Now that you're done, take a few moments and check out the other find tutorials I have posted on my site. Thanks for stopping by!

I found this post useful.I was trying to find this. Really refreshing take on the information. Thanks a lot.http://tutorialforphotoshop.com
ReplyDeleteThanks for the information. I didn't like the way others have done it. This is much easier to manipulate.
ReplyDeleteI am very glad to have such useful information
ReplyDeleteclipping path service
Photo Retouching Services
raster to vector conversion service
Thank you for your valuable information.
ReplyDeletePhoto Retouching Services